I've been doing a lot of research and reading up on Winter Sowing, and which seeds are appropriate, and which seeds have limited or no success. I've been scouring blogs and Youtube and reading comments and personal experiences. What I've found is that nobody seems to Winter Sow in plastic water bottles. Is this because they're made with thinner plastic? Or because they're only wide enough to plant one or two seeds? It can't be due to being too shallow, because many people have winter sown in takeout containers that are short and squat. Why isn't there any account of people trying it - whether is works or not? We go through a fair amount of water bottles here, so I figured I'd give it a try. If it works - fantastic! If not, at least other people who are thinking the same thing will have an answer.
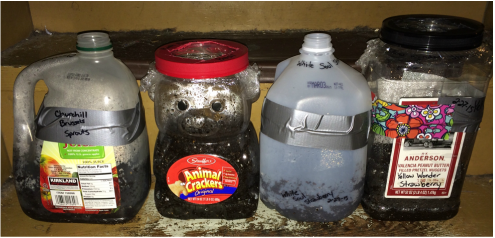
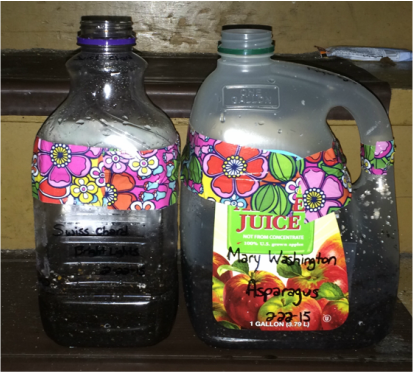
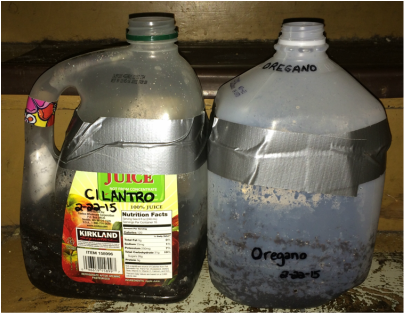
Today I sanitized 23 water bottles and three juice/milk jugs. I'm not sure if I'll be working on that tonight or save it all for tomorrow. An experiment within an experiment - how delightful!
Today I sanitized 23 water bottles and three juice/milk jugs. I'm not sure if I'll be working on that tonight or save it all for tomorrow. An experiment within an experiment - how delightful!

 RSS Feed
