This morning I started soaking some okra seeds. I was told that they have a really low germination rate (older seed), so I'm starting four in hopes of getting a single plant. They'll move from the soaking jar to a paper towel baggy tomorrow. From there, any that germinate will be moved into pots as they emerge. The packet says they can take two weeks to germinate.
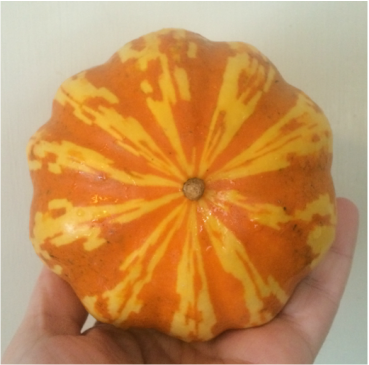
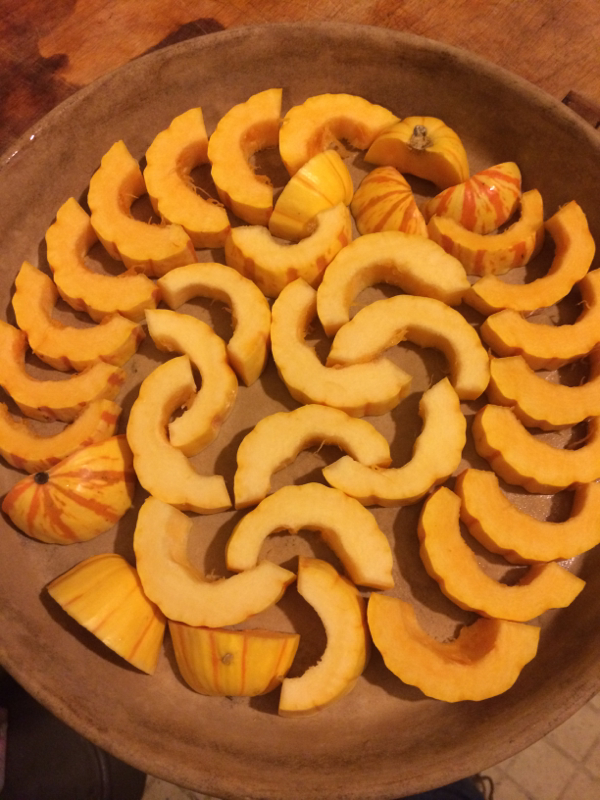
Today I baked the butternut squash. I've been holding on to it for over a month now, but #2 discovered a bad spot on it yesterday, so it was use it or lose it.
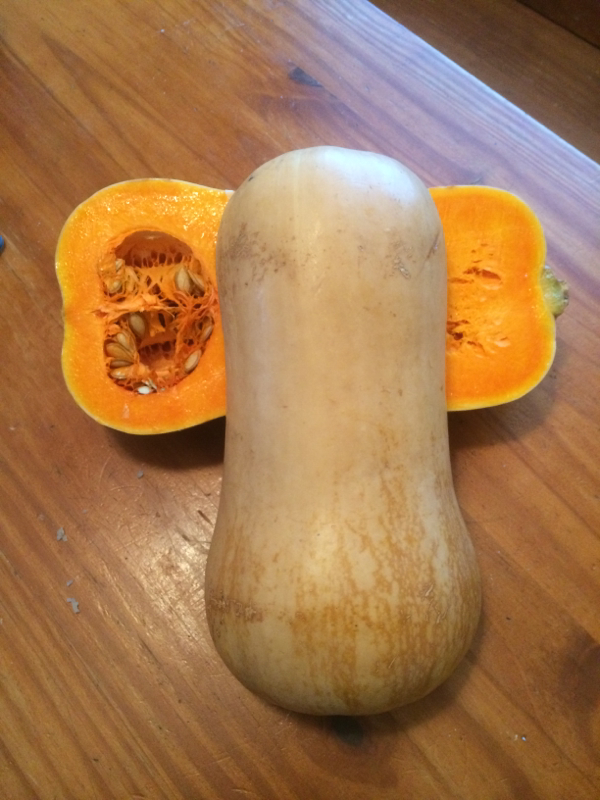
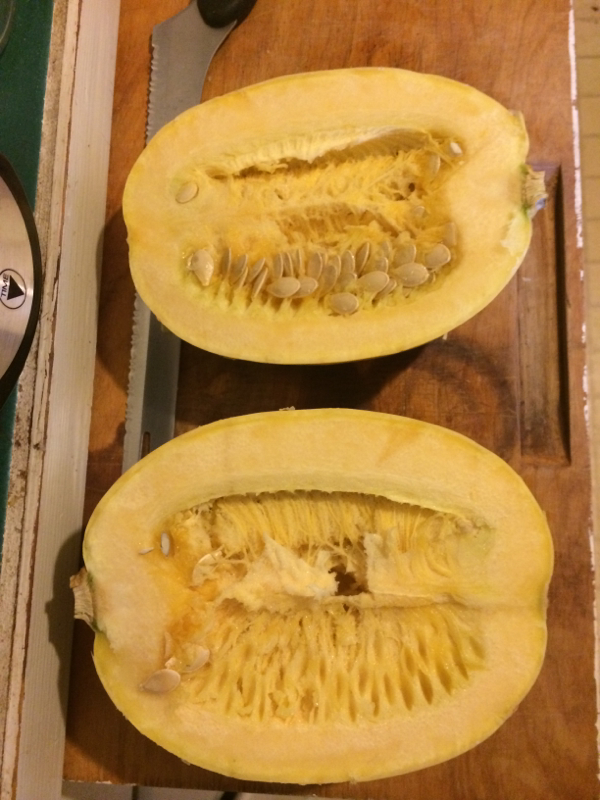
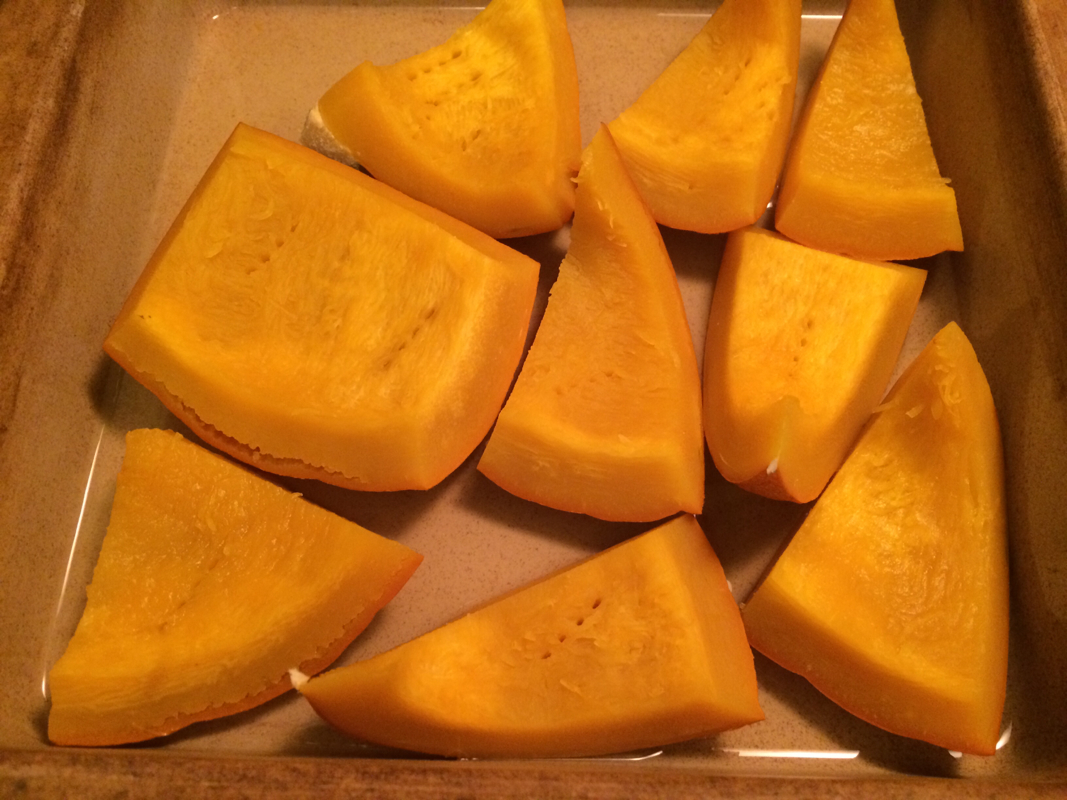
 
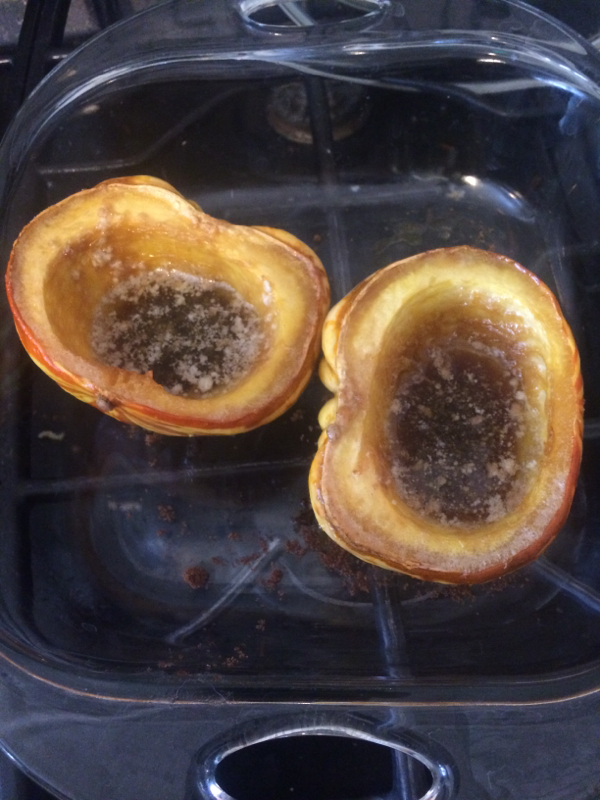
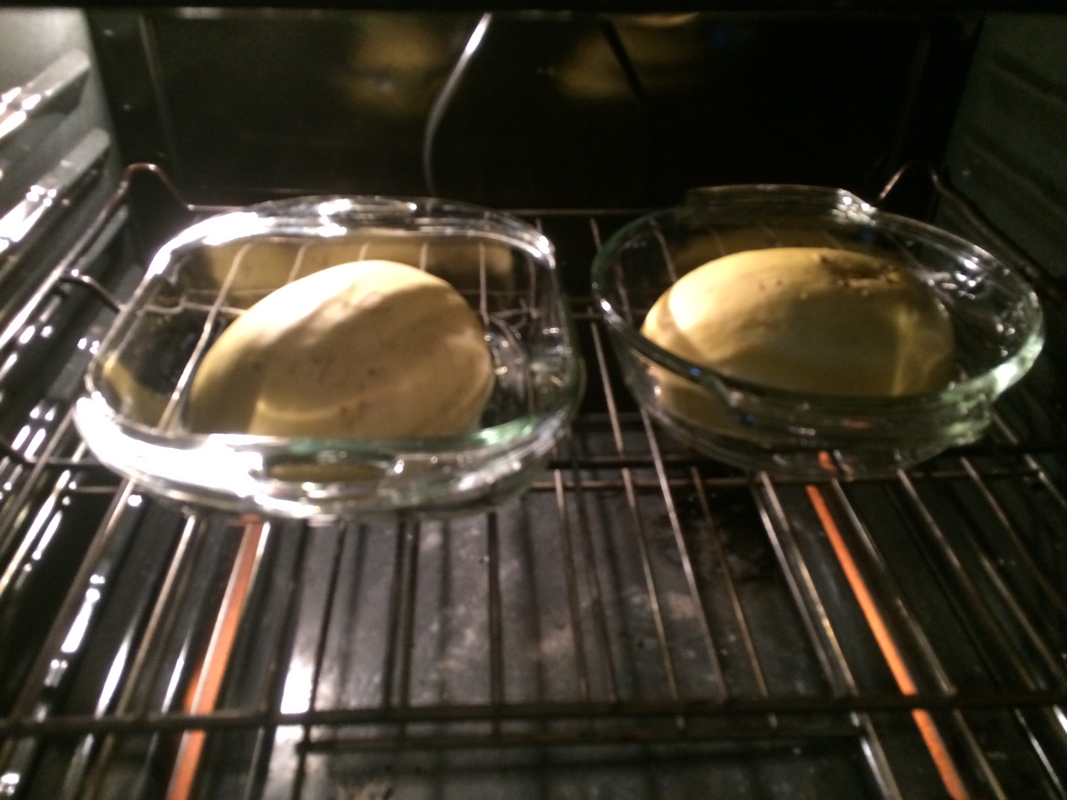
I cut the squash in half, removed the seeds, and put the squash cut-side-down in a glass baking dish (one half in each dish). I added one bottle of Goose Island root beer (from Costco) into each pan. I baked them at 350* for one hour.
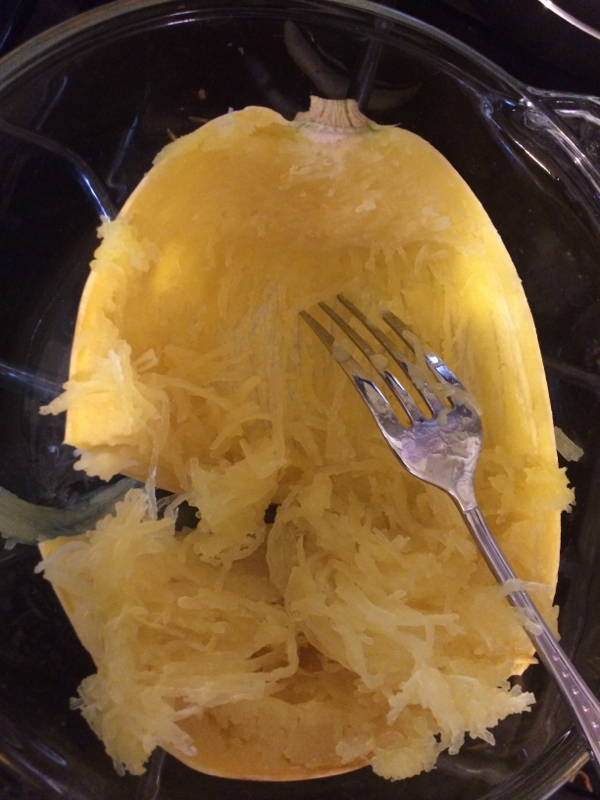
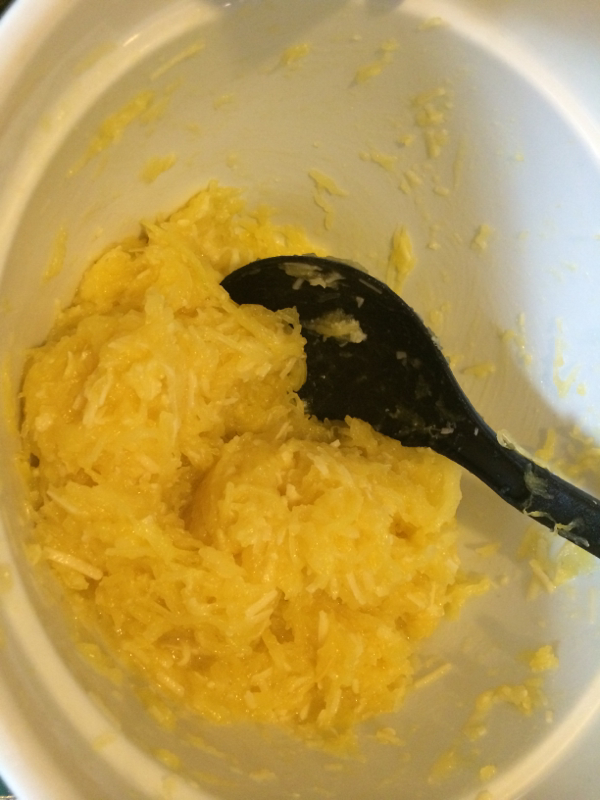
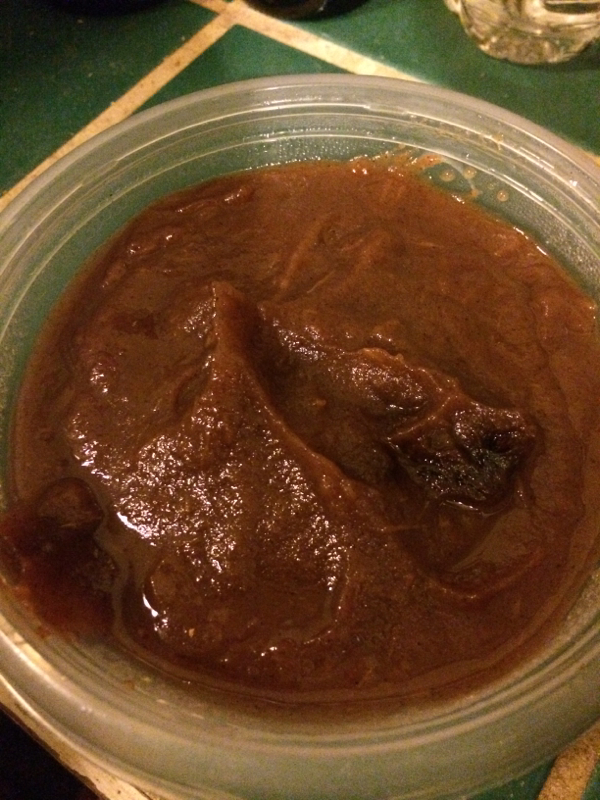
 
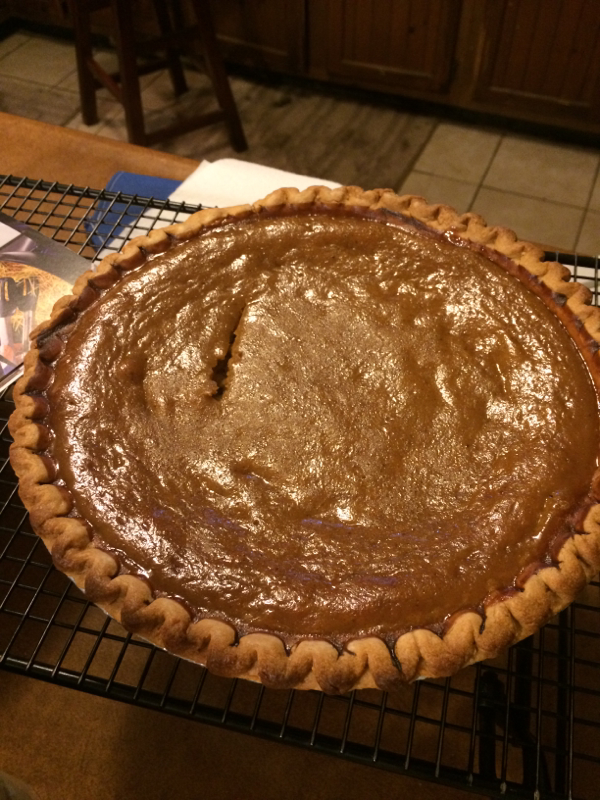
It wasn't bad. Some of it was still pretty hard, so I did have to microwave the rind of one of the halves to soften it up. It was alright initially, though the kids didn't agree. I had a plate of it for lunch with some Parmesan cheese, and that improved it a little. The kids still turned their noses up at it. I plan to buy another and use it to make a pseudo-pumpkin pie next time.
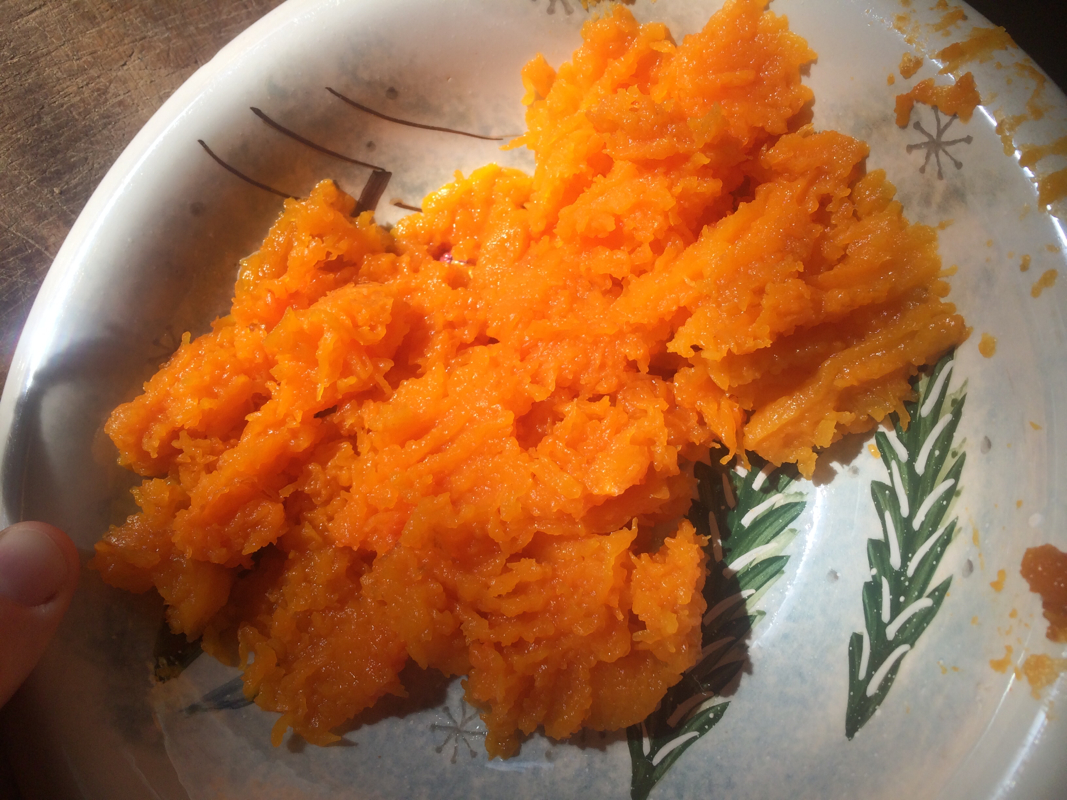
 
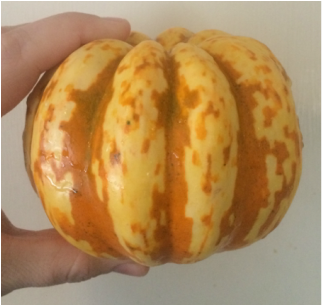
I did save the seeds from this butternut squash. They're drying now. Some are a little dark, so I'm not sure if those few are viable, but I'll try anyway.
This morning I started soaking some okra seeds. I was told that they have a really low germination rate (older seed), so I'm starting four in hopes of getting a single plant. They'll move from the soaking jar to a paper towel baggy tomorrow. From there, any that germinate will be moved into pots as they emerge. The packet says they can take two weeks to germinate. I was planning to do a crash course on cactus growing and then jump in, start some seeds, and blog about it today. I figured cactus was just a less-moist version of any other seed starting. Wrong! Turns out it takes a lot of prep, set up, and time. Most of the information I was finding was indicating that just the germination and seedling stage can take six months or more. I have limited space for plant lights, so I'm going to put off the cactus planting experiment for now. Maybe I will start some seeds after I have a garden set up outside so I have the space and time to keep seedlings under proper light for that long. Yikes! Who knew? I have a new found appreciation for all of those little cacti plants I see in the stores now. It can take years to get them to that size, and I figured they were just little babies! I do have a "cactus mix" with a couple different kinds of un-labeled seeds (most appear to be moss rose size, but lighter in color, but some are larger). I also should be getting some prickly pear cactus seeds in the mail this week (the kind with spines). I sent off a trade earlier this week with someone, so I should be getting "Summer Cider" tomato seeds as well. I'm posting this blog as I'm waiting for my lunch to cook. I'm attempting acorn squash for the first time. Or at least, I thought it was acorn squash. It was labeled as acorn squash, and it looked like acorn squash when I bought it, but it's been sitting for a few weeks and has now turned yellow. It's not rotten or soft, just not green anymore. This happened to the delicata squash I left for a few weeks as well. It just looks a little funny. It's also the smallest acorn squash I've ever seen. Single serving I guess. I saved the seeds (drying now), so hopefully we can grow our own. It'll be interesting planting these seeds to see if it grows full-sized fruit or miniature fruit. Quick update: the acorn squash turned out fantastic! I just tossed some butter and brown sugar in. Little #5 couldn't get enough fast enough! Even picky eater #1 liked it. I think I'll be picking up another acorn squash next time I'm at the grocery store. I found a recipe for delicata squash and thought it would give me an excellent excuse to buy some and save seeds. Drizzle with a little olive oil, add salt to taste. Bake at 425-degrees for 10 minutes. Flip over, bake for another 10 minutes. Flip, bake another ten minutes. EDIT: I admit, all of the kids turned their noses up at this one. It felt like it was missing something. I tried adding pepper, then I tried a piece with honey, then Italian dressing. Eventually I smothered the whole plate in shredded cheese and popped it in the microwave to melt the cheese (by then the squash was cold). The combination of melted cheese and just a hint of Italian dressing (just enough to zing your tongue - not smothered in it) - perfect! The kids actually asked me to make it again! Unfortunately, the local store is out for the season. Good thing we saved the seeds.
I was so busy with apple butter yesterday that I didn't get a chance to post the photos and recipe we used for lunch. I'm new to the world of squash, I'll admit it. This recipe was so simple I had to try it. Start with a spaghetti squash, cut in half. Scrape out the seeds and innards. I used a spoon and they came out easily. Then place the halves open side down in a baking dish. I added a little water to the bottom to keep them moist, but didn't cover them. I cooked mine at 350 for 45 minutes. Take them out of the oven and use a fork to scrape the insides out in strings. A note here, I scraped top to bottom on one half and side to side on the other. It seems the side to side works better to get spaghetti strings instead of mush. Add in half a stick of butter and half a cup of fresh grated Parmesan cheese. Toss together. We used a lot more cheese than the recipe called for, possibly because squash is a new flavor for our family. I did save the seeds, and would like to note that this spaghetti squash had far fewer seeds than the pumpkins I used for pie. All together not bad, but the kids still aren't sold on it just yet. Today I am blogging as I go. I'm making another batch of Apple Butter and fruit leather, but with a few modifications. This time I will be substituting local honey for the white sugar. Also, I'm using Honeycrisp apples this time. My first note is that the honey crisp apples seem to be more lop-sided, making it harder to use the Apple Wedger. Good thing we can just use a knife and core it the old fashioned way. Today, #3 will be helping me in the kitchen. Now for the difference. The recipe calls for 1/4 cup brown sugar, 1/4 cup granulated sugar, 1/4 cup water, and 1 Tablespoon cinnamon. I'm going to use 1/4 cup local honey instead of the granulated sugar and no water (using the moisture from the honey instead). After four and a half hours on low in the Crock pot, everything goes in the blender to purée. Once again, still sloppy and liquid so back into the crock pot it goes on high without the lid until it reaches the consistancy of jam. The recipe says one hour, but last time it took a lot longer. I've also put some of the mix into the dehydrator to make fruit leather (set on Medium for another four hours). After an additional two and a half hours in the crock pot, the apple butter is finally done. It was critiqued by #2 and he said he liked the sugar version better for the fruit leather, but the honey version better for the butter. After dinner we ran back to the grocery store and bought a dozen Gala apples to try a doubled batch that will cook overnight. We will see how it turns out! I recently walked through a store and saw some white pumpkins for sale. I turned to Tony and said I'd like to buy one. I'd be able to harvest seeds and grow our own white pumpkins, and how neat is that? He said unless I had a plan for the rest of the pumpkin, it wasn't worth buying one. So I decided to look up pumpkin pie recipes. I have never made my own pumpkin pie before. Pie has always been something someone else in the family makes. I found a recipe online that mentioned using different kinds of pumpkins. You didn't have to only use a "pie pumpkin." So I picked up one pie pumpkin and one white pumpkin - let the experiment begin! 1 pie pumpkin (6-8" across) - will need 3-cups of cooked pureed pumpkin
1 cup sugar 1.5 teaspoon ground cinnamon 1 teaspoon ground cloves 1 teaspoon ground allspice 1/2 teaspoon ground ginger 1/2 teaspoon vanilla extract 4 large eggs 1.5 cans (12 oz each) of evaporated milk Step 1. Select your pumpkin. One 6-8" pie pumpkin (also known as "sugar" pumpkin) should be enough to make one pie plus some extra. I also tried this recipe using a white pumpkin, which was larger and had a lot of extra cooked pumpkin. I really only needed about half the white pumpkin. Step 2. Prepare the pumpkin for cooking. Rinse the pumpkin in cool water (no soap). Cut the pumpkin in half. I cut them top to bottom so it was two sides (not in half top/bottom), I'm not sure if it makes a difference. Step 3. Scoop out the seeds. I used an ice cream scoop to scrape out the seeds and stringy gunk. Scrape the inside of the pumpkin to make sure you get all the gunk out. This is a good time to set the seeds aside if you want to save them. You could bake them for a tasty snack, or dry them for future planting. Step 4. Cook the pumpkin. Cut the pumpkin into chunks and put them into a baking dish. I put mine in two 9x9 cake pans. Add a little water to the bottom and cover with tinfoil. Bake at 350-degrees for 45-90 minutes, or until a fork easily pokes through. You'll notice the shell starts to separate from the "meat" of the pumpkin when it's ready. Step 5. Scoop out cooked pumpkin. The recipe said to use a spoon, but I found that with the pie pumpkin it was pretty easy to peel it by hand. I did need a spoon for the white pumpkin )which also took much longer to bake). Step 6. Puree the pumpkin. I used a hand blender to puree the baked pumpkin. The recipe said it should take 2-3 minutes and you want it as smooth as possible. You could also use a normal blender if you don't have a hand blender. Step 7. Set pumpkin puree aside. You will only need 3 cups for this recipe, so if you have more, feel free to freeze it. Or you could freeze it if you want to make the pie at a later time. Step 8. Make the pie crust. I used a pre-made frozen crust, so I skipped this step. Note, you want a deep dish crust for this recipe. Step 9. Mix the pie contents. 3 cups of pumpkin puree, 1 cup of sugar, 1.5 teaspoon ground cinnamon, 1 teaspoon ground cloves, 1 teaspoon ground allspice, 1/2 teaspoon ground ginger, 4 large eggs, 18oz evaporated milk, 1/2 teaspoon vanilla extract. Mix well using a mixer or hand blender. NOTE: For a larger, or grainier type of pumpkin (such as the white one I used), add an extra 1/4 cup sugar. Step 10. Pour into pie crust. Remember, this recipe will make more filling than will fit into one deep dish pie crust. Just fill it to the top and set your remaining mix aside. Step 11. Bake the pie. Bake at 425-degrees for 15 minutes, then at 350-degrees for another 45-60 minutes. You'll know it's ready when a clean knife poked into the middle of the pie comes out clean. Step 12. Cool the pie. From here it can be eaten right away, or frozen (put some plastic wrap over it first) and eaten later. Some whipped cream on top - enjoy! Step 13. Deal with your extra mix. I made one pie with the pie pumpkin, and one pie with the white pumpkin. I had a lot of extra mix left afterwards. I made some "muffins" by making a quick crumb mix (crushed graham crackers, butter, and sugar), pushed into the bottom, and filled with mix. I made six of one kind, three of the other, and three of them I mixed the two together. I still had enough mix to make one whole pie with the remainder of both pie mixes. It turned out pretty good too! |
Amanda's BlogAmanda's blog about everything, important and trivial. Archives
April 2024
Categories
All
|